
ChatGPT
Works where Developer Mode is available
In ChatGPT, enable Developer Mode, create a connector, and paste the VibeLaunch MCP URL. If that setting is not available, use the paste flow.
One minute. One time. Then publishing is just asking.
Add VibeLaunch as a custom connector, and “publish this on VibeLaunch” becomes the whole workflow. Here’s exactly what happens.
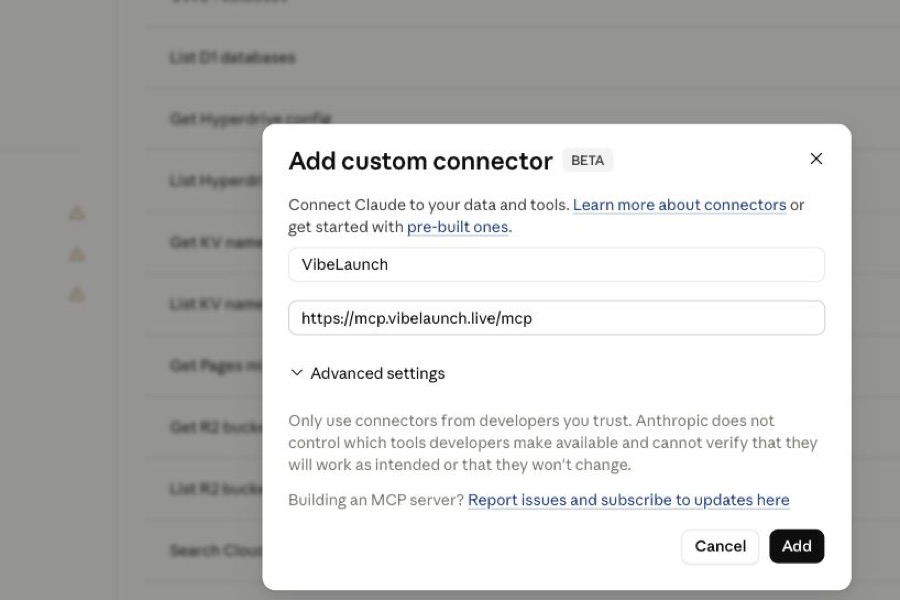
Open Claude’s connector settings
Paste this as the address and name it VibeLaunch:
Add it, then Connect
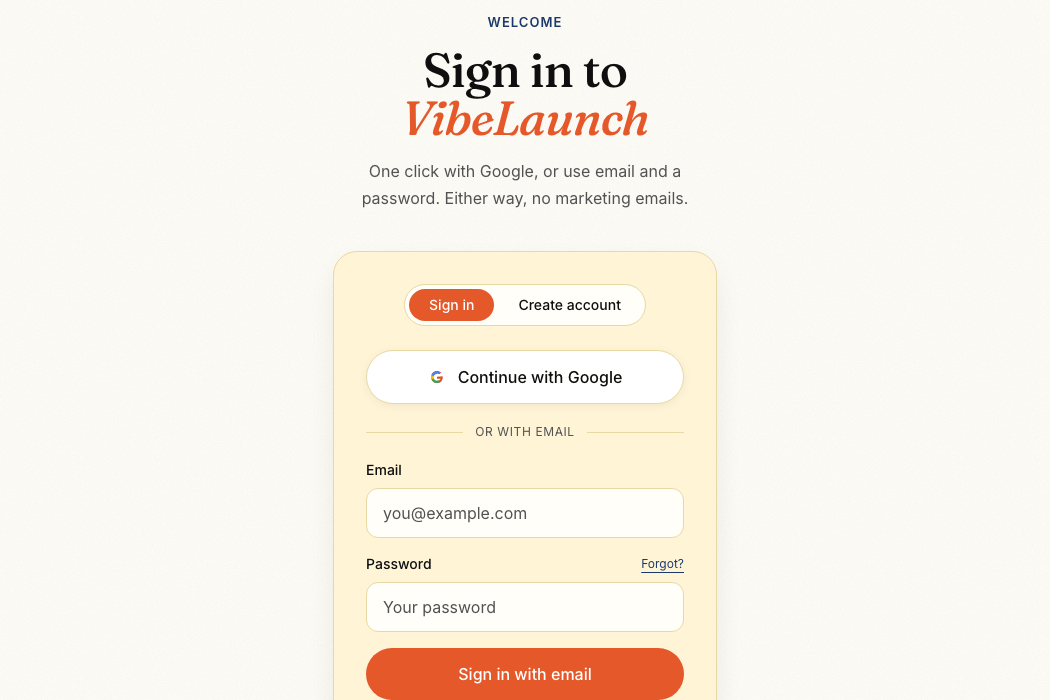
Sign in once — that’s also your VibeLaunch account.
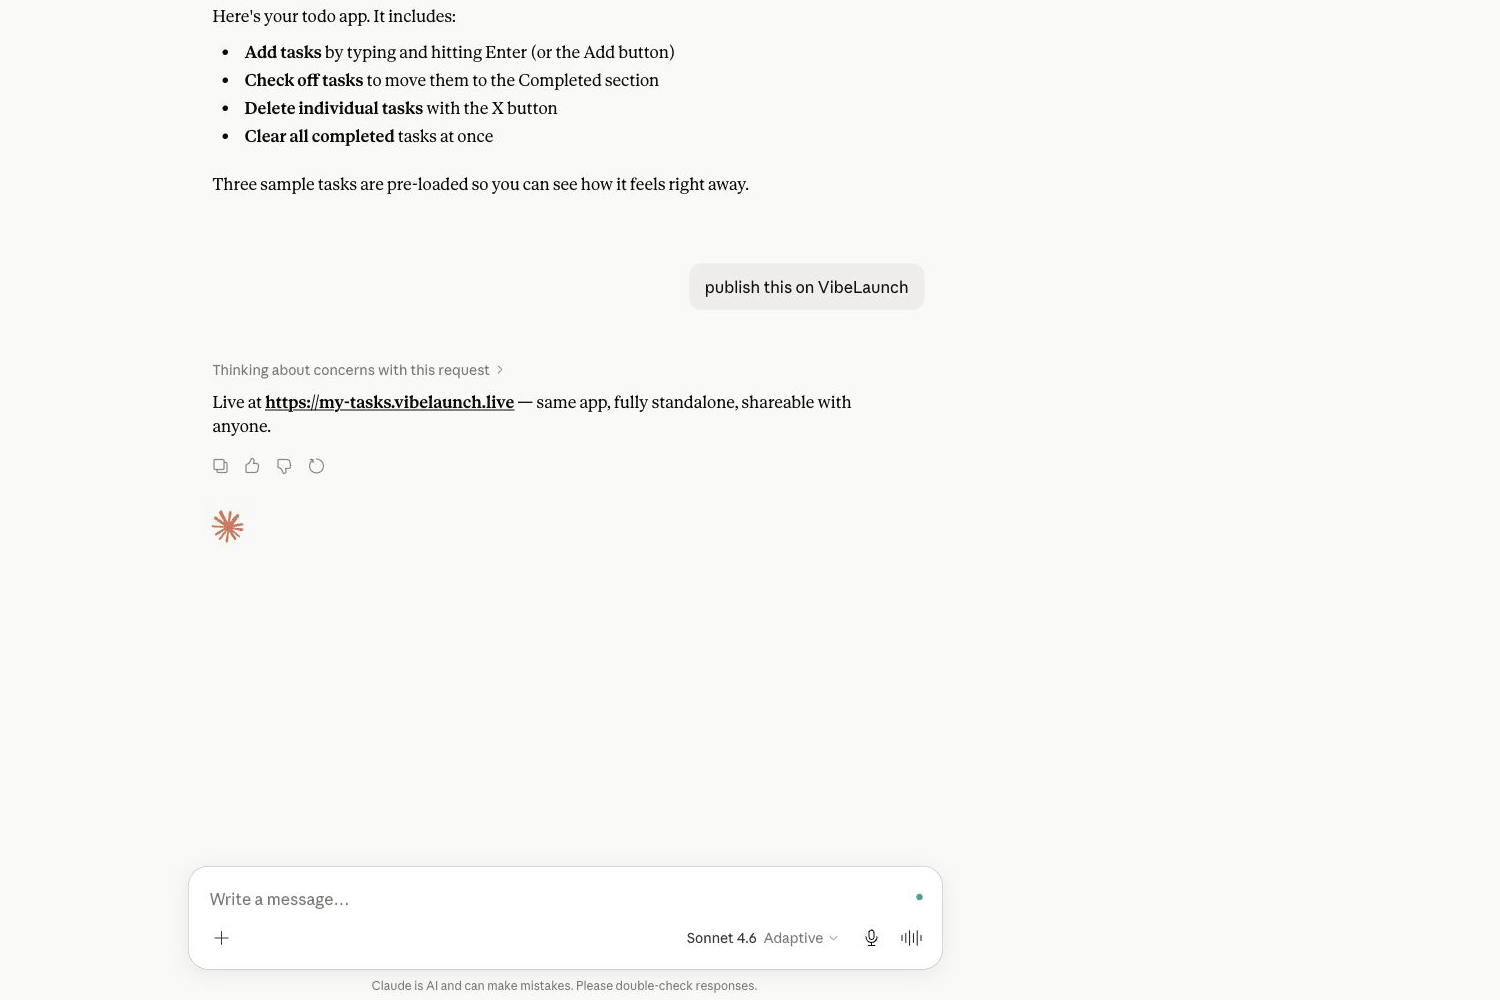
Ask Claude to publish
What you’ll see in Claude
This connector was suggested by an external link. Verify the name and URL are from a developer you trust before adding.
The red note is Claude being careful — it shows for every connector Claude didn’t build itself. Check the name and address match, then Add.
Built it somewhere other than Claude? Paste what it gave you instead
Paste this MCP URL when a connector setup asks for a server address: https://mcp.vibelaunch.live/mcp. If a connector option is unavailable in your account, the web paste flow still works.
Works where Developer Mode is available
In ChatGPT, enable Developer Mode, create a connector, and paste the VibeLaunch MCP URL. If that setting is not available, use the paste flow.
Use Grok's Custom MCP option
In Grok connectors, choose New Connector, select Custom, paste the VibeLaunch MCP URL, and complete sign-in.
No custom connector path yet
Ask Gemini for browser-ready files, then paste them into VibeLaunch. Keep one file named index.html.
We answer fast. A human, not a robot.